Watercoloring with Aquapainters
Tools to start:
Aquapainter
Water soluble inks
Waterproof ink
Stamps
Scratch paper or paper towel
Prep Work:
Fill your aquapainter with water. I accomplish this by removing the brush tip assembly and submerging the barrel under water. Repeatedly squeeze the barrel to force air out and draw water in.
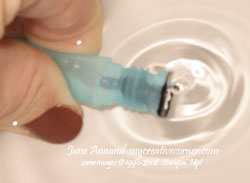
Prep your aquapainter by gently squeezing the barrel to force wafer down into the sponge reservoir and brush tip.
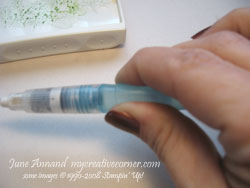
“Paint” your scratch paper or paper towel to remove excess water. Personally, I prefer to have the tip just slightly moistened, so it might be a good idea to practice watercoloring on scratch paper first to see how wet you like your brush tip.

Let’s get started:
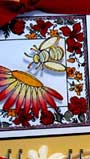
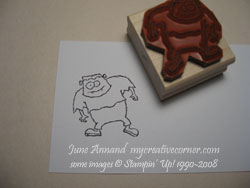
Begin by stamping your outline image using a waterproof ink (Stazon black shown here).
There are many mediums you can watercolor with – I’ve chosen Stampin’ Up’s Classic ink for demonstration purposes.
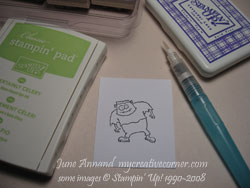
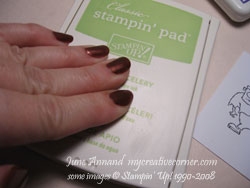
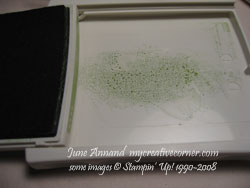
Gently press the closed lid into your inkpad to transfer ink onto the lid.
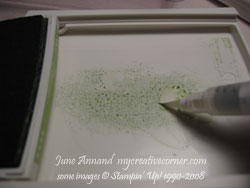
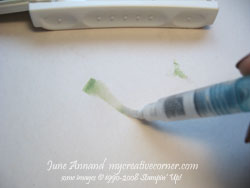
Touch the brush tip of your aquapainter into the ink.
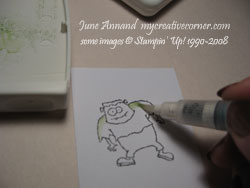
Follow the outline of your image with the tips of the brush. Tip – I’ve found that if you very lightly “pre-wet” the area that you are watercoloring, the ink will transfer better to paper. (Pre-wet means to simply paint the area with your aquapainter and plain water first to pre-condition the area.)
To clean your aquapainter for the next color, simply paint on your scratch paper to remove excess color. If necessary, you can dip the brush tip into a bit of water and swipe on your scratch paper or paper towel.
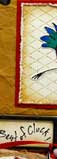
Assemble your project!


|
|